Iconoclasm in Church Art (600-1000)

Key Issues of Iconoclasm
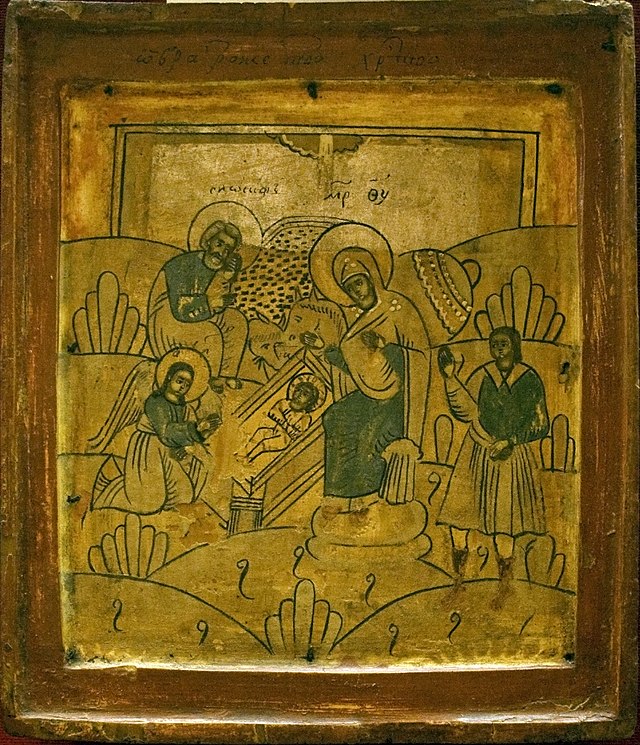
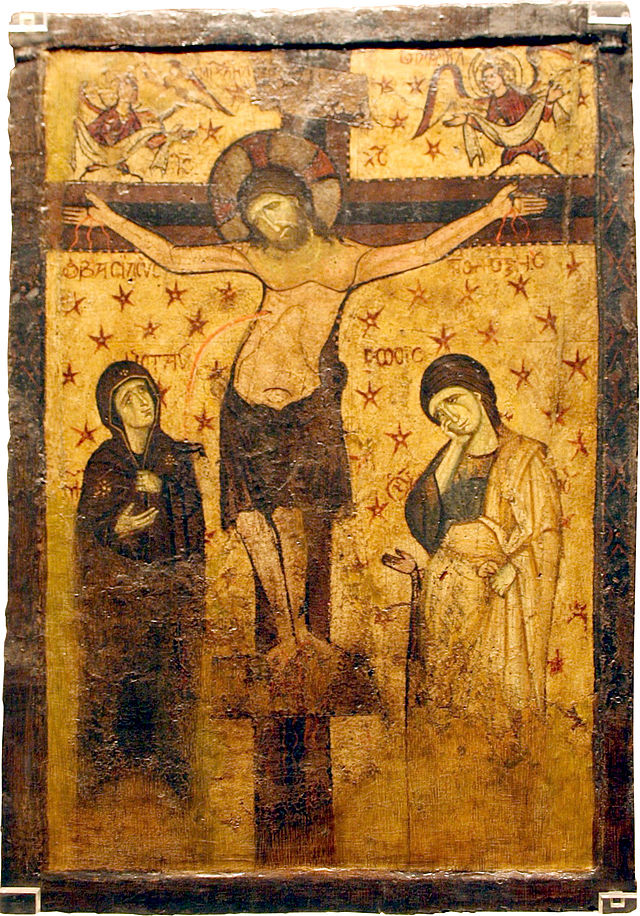
Iconoclasm, the destruction or rejection of religious images, was a major controversy that profoundly impacted the Byzantine Empire from the 7th to the 9th centuries. The debate centered around the Second Commandment, which forbids idolatry, raising the question of whether holy images competed with God or enhanced Christians’ experience and knowledge of God. This controversy tore apart the Byzantine Empire, pitting the iconodules, who venerated icons as a logical progression of Christian art, against the iconoclasts, who believed that any image in a church was idolatry.
The East-West Divide

In the Western Christian church, where Latin had become the church’s language, the Greek distinction between latria(worship for only God) and dulia (a lesser form of veneration) was not easily understood or accepted. Eventually, however, the Western church allowed images for veneration. Despite sharing one Christian faith, Latin Christendom and Byzantium developed distinct spiritual, intellectual, and institutional traditions, shaping cultural identities that persist today as two distinct divisions of the Church.
Byzantium Under Justinian and Theodora

In Byzantium, the Emperor Justinian (527-565 AD) and his wife Theodora implemented caesaropapism, ensuring that the emperor controlled both political and religious affairs. This mosaic shows Empress Theodora holding a chalice, with figures standing frontally and almost floating in space, signifying a stylistic break from the Greco-Roman tradition. This new style was associated with the divine world, rather than the naturalistic world. Theodora was murdered for opposing the removal of the Jesus icon on the Chalke Gate of the Great Palace of Constantinople during the iconoclasm movement.
The Iconoclast Controversy

According to traditional accounts, Iconoclasm began when Emperor Leo III removed an icon of Christ from the Chalke Gate of the imperial palace in Constantinople in 726 or 730, sparking widespread destruction of images and persecution of their defenders. In the East, Caliph Yazid issued a decree in 723 banning all holy images in Christian churches. In the West, Emperor Leo banned icons in all public places in 726. Pope Gregory III responded in 731, excommunicating those who denied the sanctity of icons or violated sacred images.
Opposition and Resolution
St. Theodore the Studite (b. 759, Constantinople) was a leading opponent of iconoclasm, which disturbed relations between the Byzantine and Roman churches. The period of iconoclasm lasted until 797, with proponents of icons like Saint John of Damascus and the edicts of the Seventh Ecumenical Council supporting the veneration of icons. John of Damascus, an Arab Christian monk and theological doctor, was a prominent figure in the 8th-century Iconoclastic Controversy.
Cultural Impact and the Great Schism
Byzantine Iconoclasm, initiated by Emperor Leo III and continued by his successors, included widespread destruction of religious images and persecution of supporters. The period saw growing divergence and tension between the East and West, though the Church remained unified. The Western Church supported the use of religious images, while the Eastern Church was more divided.
The Great Schism of 1054 was caused by doctrinal differences, the rejection of universal Papal authority by Eastern patriarchs, and sociopolitical differences. This schism created lasting divisions that affect the study and practice of iconography today.
Modern Perspectives on Iconography

Today, a schism still exists between Western and Eastern iconographers regarding the nature and purpose of icons. Former Archbishop of Canterbury, Lord Rowan Williams, explained the significance of icons in his talk “Idol, Image, and Icon.” He described an idol as an empty illusion, whereas an image bridges the gap between absence and presence. Icons, made and used in prayer, open us up to God and embody the tension between divine presence and absence. They challenge and transform the viewer, claiming our attention and inviting us to experience the sacred.
Conclusion
Iconoclasm was a pivotal controversy in the history of the Byzantine Empire and the Christian Church, shaping the development of religious art and theological thought. Its legacy continues to influence the study and practice of iconography today, highlighting the enduring tension between tradition and innovation in religious expression.

I’m hoping to achieve Peace in our lifetime, with all those who call themselves Christians actively spreading the Doctrine of brotherly love to all of our neighbors.
INTERESTING LINKS:
May God continue to bless the eyes of your hearts with His love, until next month,
Christine Simoneau Hales, New Christian Icons