
Greetings Friends and Fellow Iconographers:
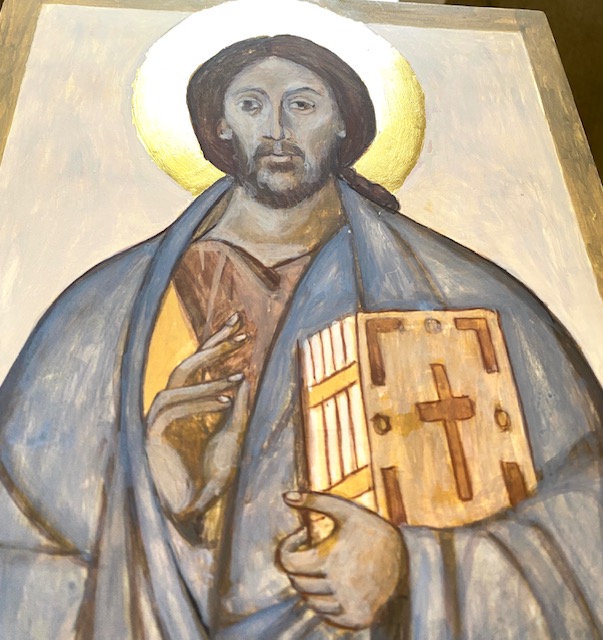
I’ve been studying and painting Icons for almost thirty years! Since I first began, the field of iconography has changed so much! There are so many more books on the subject, both “how to”, books about the history of icons, and how to pray with them. This is great news for all of us, I’m sure.
New Gilding Materials
At the same time, many, many, new products used for icon writing have come on the market. I invite any of my readers who has experience with these new products to please write about it so it can be shared and published here. Only in this way of sharing our experience can we hope to add the best quality to our icons and I know that we all want to bless the Lord with our most excellent work.
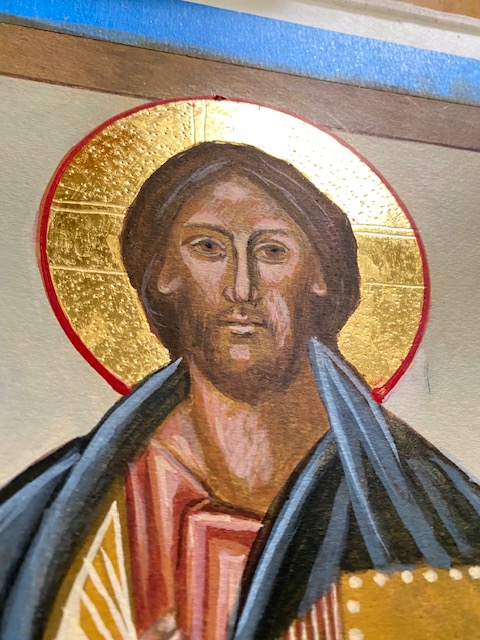
With this in mind, I’m currently preparing to teach an online icon writing class that, in addition to teaching how to paint an icon using egg tempera, will focus on how to gild using the Kolner Instacoll Gilding System. Many iconographers love this method because of its relative ease in application but particularly for its very shiny surface when it’s finished. I have experimented extensively with it and am happy to share some of the technical information I have observed.

Shellac
First, applying one or two coats of shellac to the area to be gilded is most beneficial. The natural gesso is a porous surface, and even for other gilding methods, it is suggested to coat the surface with shellac thinned with denatured alcohol. I used a mixture that is 1 part blonde shellac flakes to 4 parts denatured alcohol. (This mixture can be stored in a cool dry place for several weeks only, so only mix the amount you think you will need.) You will find technical articles about this on the web- here is one.
Kölner Instacoll System
Next, I applied the Kolner Instacoll System BASE in two thinned layers. I thinned it a little with a drop or two of distilled water. This needs to dry completely- 1-3 hours between coats. It’s really important to avoid making brushstrokes if you want a very smooth gold surface. (You can clean your brushes with soap and water). The first coat must be completely dry before applying the second coat.
Next, I applied the Kolner Instacoll System ACTIVATOR. You can use a brush or a soft cloth to apply this to the base when it’s dry. You want a thin, even film over the base and it needs to dry before applying the gold leaf.
You can use either patent gold or loose gold with this system. I used patent gold leaf and a cotton ball to firmly push the gold leaf onto the surface. This takes some practice. Overlapping the gold leaf when applying it helps to give a smooth seamless look to the finished gold. After the whole surface to be gilded is covered, press down firmly again all the gold, using cotton balls- never touching the surface with your fingers.
Now for some gratification! When it’s all applied and pushed firmly into the surface, take a cotton ball or soft cloth and burnish gently to remove all the loose gold bits. As you do so, the most beautiful gold leaf shine appears !
As a note, I also experimented with the Kolner KGGG System FOND and Colnasize, but I prefer the above method as it is slightly easier and doesn’t require sanding.
Of course there are many other methods of gilding for icons- the oil method with different application and drying times, the water gilding method and The Dux water based size method. With experience, each of us arrives at our preferred method of gold leaf application. I hope this article has been helpful. Feel free to register for my online class in October to see this demonstrated!
INTERESTING LINKS:
This is a very good and short (7 1/2 minutes) talk on “Why Icons Look The Way They Do” by Archimandrite Maximos Constas, interviewed by Fr. Josiah Trenham.
THAT’S ALL FOR THIS MONTH. Be blessed and bless others,
Christine
ChristineHales.com Christine’s Icon Prints New Christian Icons
